How to Install Monica CRM with Nginx on Ubuntu
What is Monica?
Monica is a great open source personal relationship management system.
– MonicaHQ
Prerequisites
Install Prerequisite Packages
Git
sudo apt updatesudo apt install -y gitPHP 7.4+
sudo apt-get install -y software-properties-commonInstall PHP 7.4 and required Extensions
sudo apt install -y php7.4 php7.4-bcmath php7.4-cli php7.4-curl php7.4-common \
    php7.4-fpm php7.4-gd php7.4-gmp php7.4-intl php7.4-json php7.4-mbstring \
    php7.4-mysql php7.4-opcache php7.4-redis php7.4-xml php7.4-zip
Composer
cd /tmp
curl -s https://getcomposer.org/installer -o composer-setup.php
sudo php composer-setup.php --install-dir=/usr/local/bin/ --filename=composer
rm -f composer-setup.phpIf required please follow composer documentation to install composer properly based on requirements.
Node.js
In this example, node.js version 14.x has been used.
curl -fsSL https://deb.nodesource.com/setup_14.x | sudo -E bash -
sudo apt install -y nodejsYarn
sudo npm install --global yarnMySQL
sudo apt install -y mysql-serversudo mysql_secure_installationPlease follow the on-screen instructions to secure MySQL installation.
Note: Monica official installation only supports the MySQL database.
Nginx
sudo apt install -y nginxPrepare Database
Log in to the database
mysql -u root -pCreate a database named monica_crm
CREATE DATABASE monica_crm CHARACTER SET utf8mb4 COLLATE utf8mb4_unicode_ci;
Create a user named monica and secure it with a complex/strong password
CREATE USER 'monica'@'localhost' IDENTIFIED BY 'r6wE3Ykf4ckerhvMLBem';Please change the username/password accordingly. Must replace the password.
Configure user monica to be able to do all types of operations on the newly created database.
GRANT ALL ON monica_crm.* TO 'monica'@'localhost';
Apply these changes and exit the database.
FLUSH PRIVILEGES;Exit out of database CLI with command exit.
Clone Monica Repository
First of all, find out the latest release of monica from the release page on GitHub. Note it down and replace the tag version with the latest release tag.
Now, clone the repository to nginx webserver’s common root directory. Which is /var/www/html/
cd /var/www/html/git clone https://github.com/monicahq/monica.gitcd monica/git fetchgit checkout tags/v3.1.1Please use the latest release tag for checkout.
Configure Monica
Configurations are done in /var/www/html/monica/
cd /var/www/html/monica/Step 01
Copy the example configuration file to create a customized configuration for this installation
cp .env.example .envOpen the .env file in a text editor like vim or nano and edit a few things like database configuration
nano .env- Set
DB_DATABSE,DB_USERNAME,DB_PASSWORDwith appropriate values from the previous steps - Set
APP_URLto the desired URL. E.g. http://localhost, http://monica.homelab.local, http://monica.example.com - Set
APP_DISABLE_SIGNUP=falseif you don’t want to create a primary user (see step 05) - Set
APP_ENVtolocalorproduction
Setting APP_ENV to production will force HTTPS. If you don’t want HTTPS, use APP_ENV=local
Step 02
Run the following command to install all required packages for monica
composer install --no-interaction --no-devStep 03
To install frontend packages and build the assets (js, CSS), run the following commands
yarn installyarn run productionStep 04
Generate APP_KEY and set the value to .env automatically
php artisan key:generateStep 05
To run migrations, seeding the database, and creating symlink directories use the following command
php artisan setup:production -vOR
if you want to create a default user while setting up monica, use
php artisan setup:production --email=your@email.com --password=yourpassword -vConfigure Email Service
Monica can send emails and reminders to the recipients via SMTP. To configure email service, an SMTP server configuration is required. Please see a few SMTP services that can be used. There are free and paid plans available for most of them.
Once, you have the required information for SMTP, open the .env file and modify the following variables according to your SMTP service provider.
nano .envMAIL_MAILER: smtp
MAIL_HOST: smtp.service.com # ex: smtp.sendgrid.net
MAIL_PORT: 587 # is using tls, as you should
MAIL_USERNAME: my_service_username # ex: apikey
MAIL_PASSWORD: my_service_password # ex: SG.Psuoc6NZTrGHAF9fdsgsdgsbvjQ.JuxNWVYmJ8LE0
MAIL_ENCRYPTION: tls
MAIL_FROM_ADDRESS: no-reply@xxx.com # ex: email you want the email to be FROM
MAIL_FROM_NAME: Monica # ex: name of the sender
For SendGrid, apikey is the username and password is a very long string. Do not mistake the string apikey as an instruction to put in an apikey in it’s place.
Configure Cron Job
Monica requires a few processes to run continuously so to achieve that we will use a cronjob
Run crontab edit command for the user www-data , as www-data is the user for Nginx to run the webserver and this user should have permission on directory /var/www/html/monica
crontab -u www-data -eAdd the following line to the crontab editor
* * * * * php /var/www/html/monica/artisan schedule:run >> /dev/null 2>&1
Configure Nginx
Fix directory permissions for the project directory
sudo chown -R www-data:www-data /var/www/html/monica
sudo chmod -R 775 /var/www/html/monica/storageCreate a file named monica.conf (with syntax monica.domain.tld.conf) in /etc/nginx/sites-available/
sudo nano /etc/nginx/sites-available/monica.confAdd the following content in the file, save and exit.
server {
	listen 80;
	root /var/www/html/monica/public;
	index index.php;
	server_name monica.domain.tld;
	include global/restrictions.conf;
        location / {
		try_files $uri $uri/ /index.php?$args;
	}
	location ~ \.php$ {
		include snippets/fastcgi-php.conf;
                fastcgi_intercept_errors on;
		fastcgi_pass unix:/var/run/php/php7.4-fpm.sock;
                fastcgi_param  SCRIPT_FILENAME $document_root$fastcgi_script_name;
                fastcgi_param DOCUMENT_ROOT $realpath_root;
	}
}
Please change monica.domain.tld with the appropriate server name.
Now, create a symlink in /etc/nginx/sites-enabled/ for the newly created server configuration.
cd /etc/nginx/sites-enabled/sudo ln -sf /etc/nginx/sites-available/monica.conf monicaNow, test out the Nginx configuration
sudo nginx -tIf everything is Okay. Restart or reload the Nginx service.
Restart
sudo systemctl restart nginxReload configuration without restart
sudo nginx -s reloadBrowse Monica
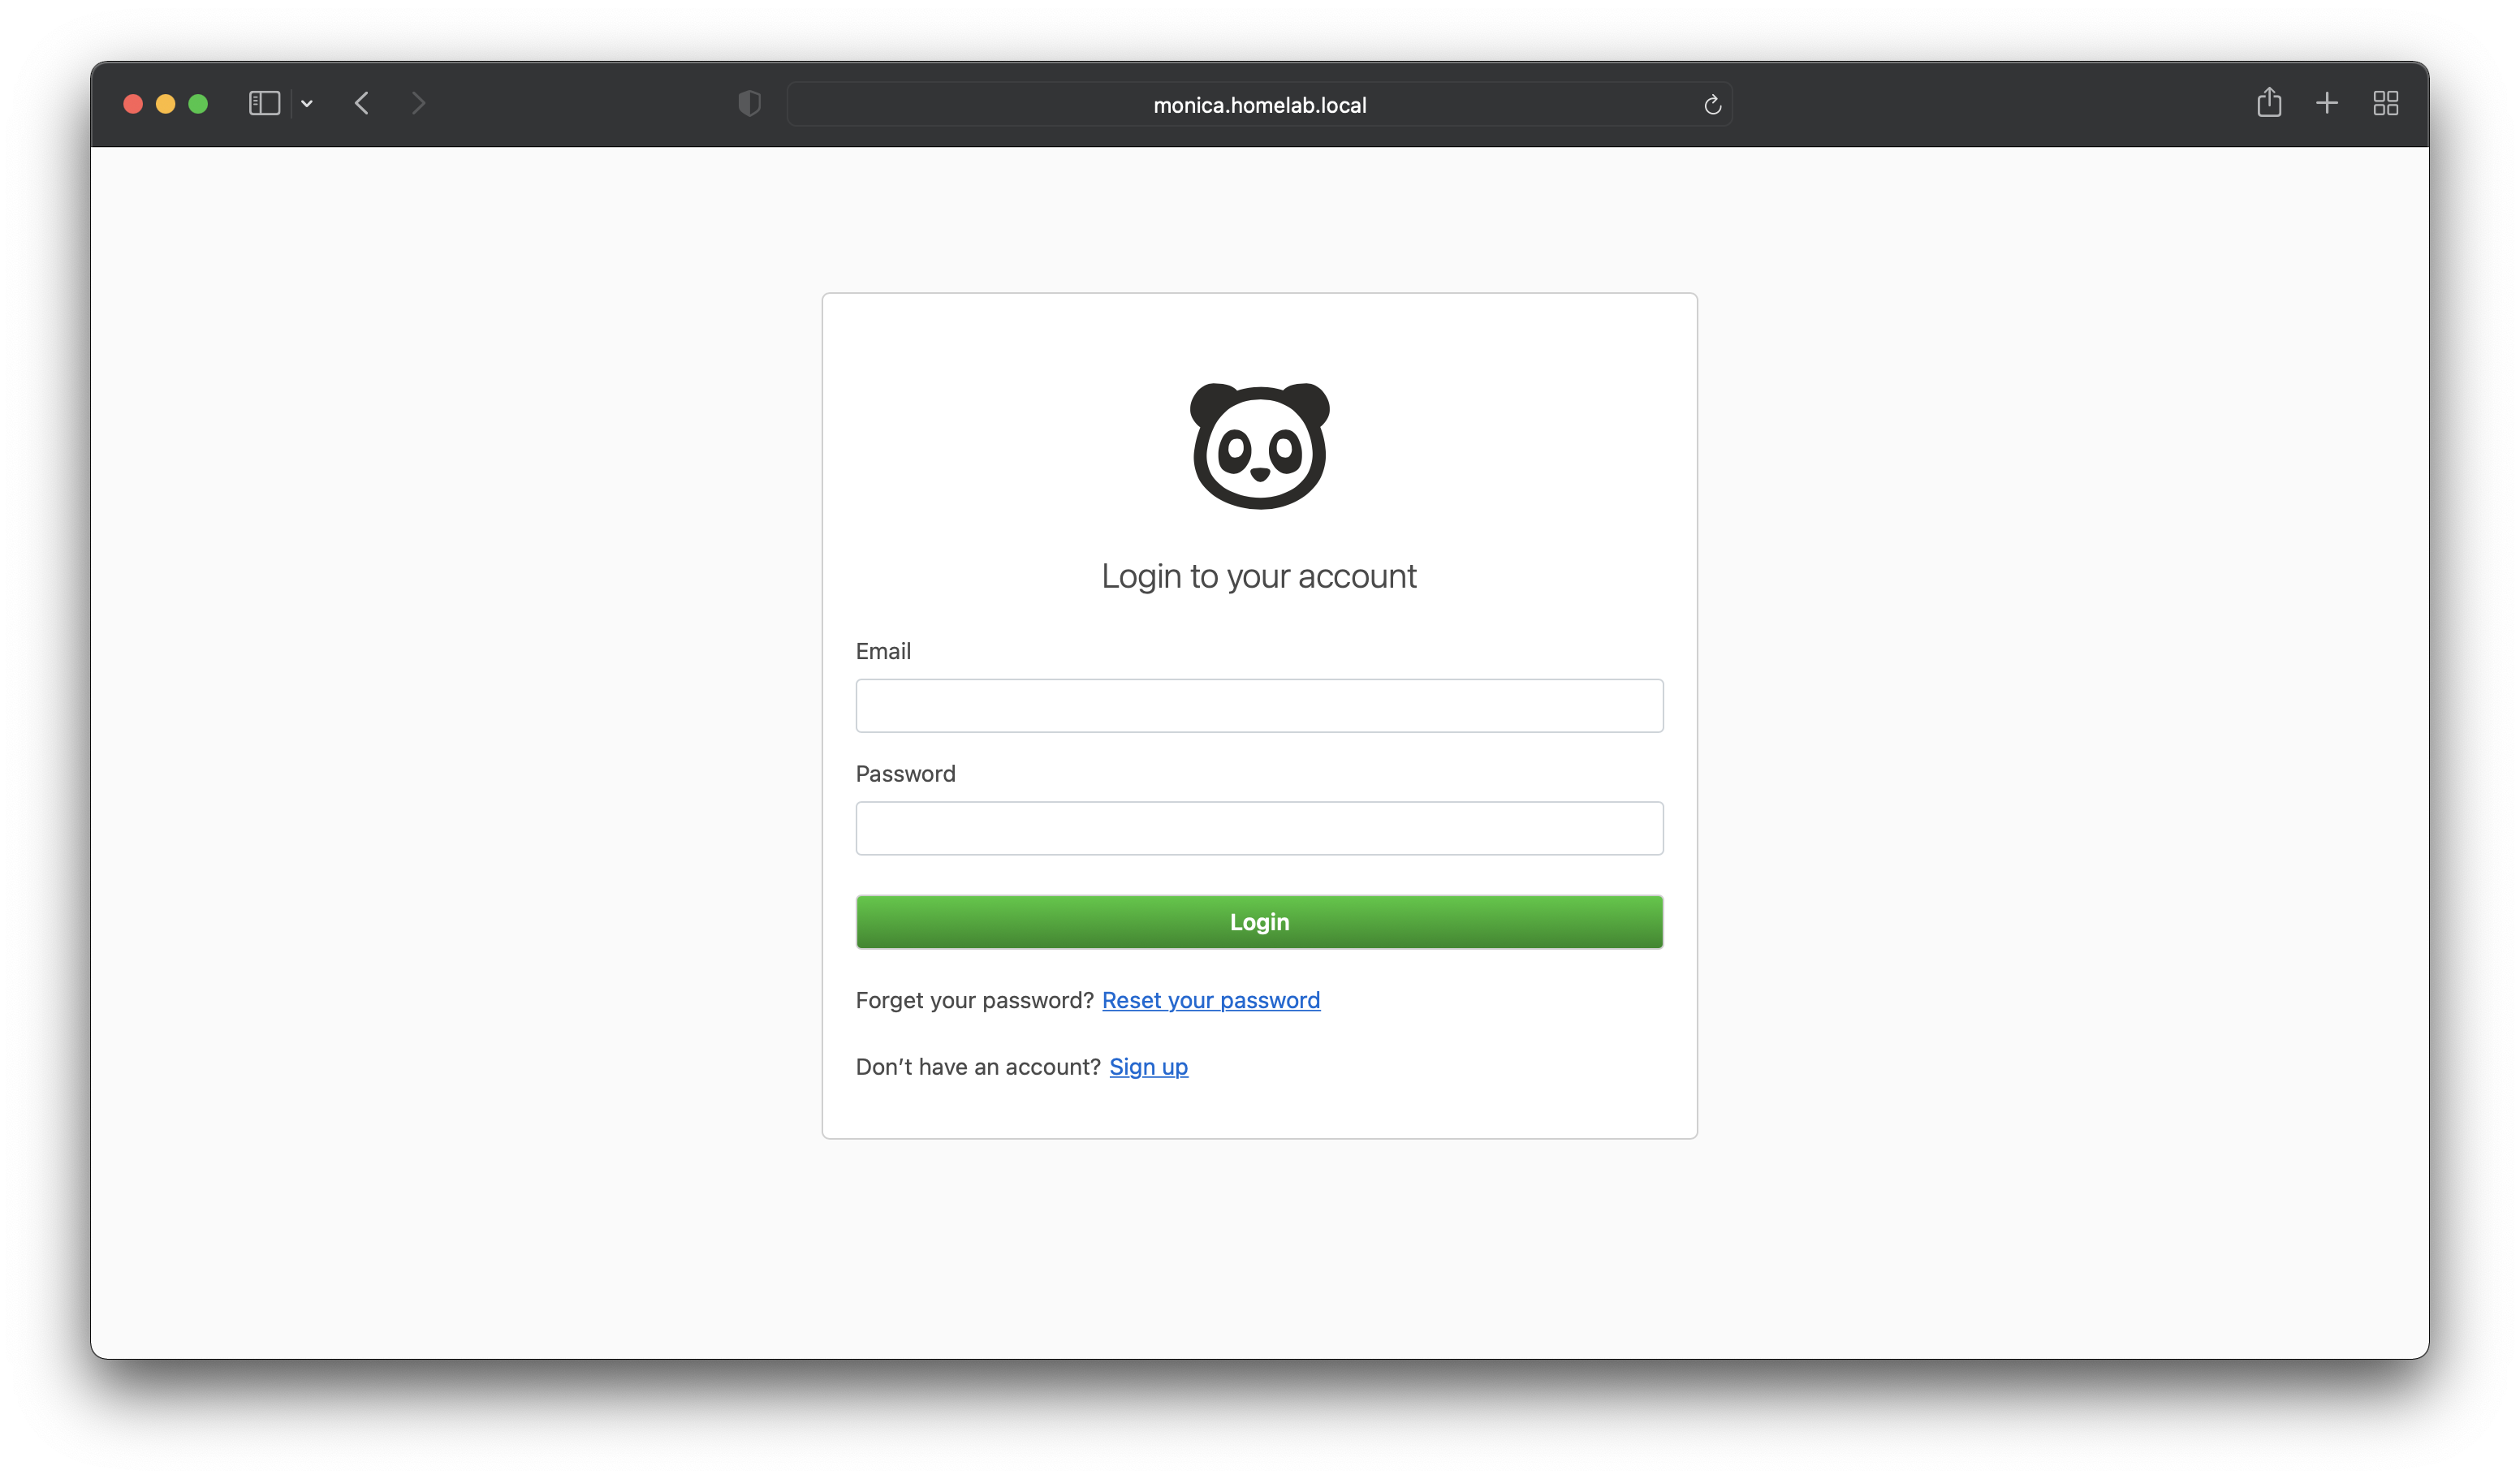
Open a web browser and browse to the server name provided in the Nginx server_name directive.
http://<monica.domain.tld>
If you are using an FQDN as a server name, FQDN (Fully Qualified Domain Name) should be resolvable via DNS or hosts file on the browsing host.