How to Install Root or CA Certificate in Windows
Trusting a custom certificate for the development environment is sometimes beneficial for the team, also sometimes, we just have the need to trust (install) a CA or root certificate manually. Here is how we can do it easily in windows systems. We consider here that the name of the certificate that needs to be installed is rootCA.crt
Step 01
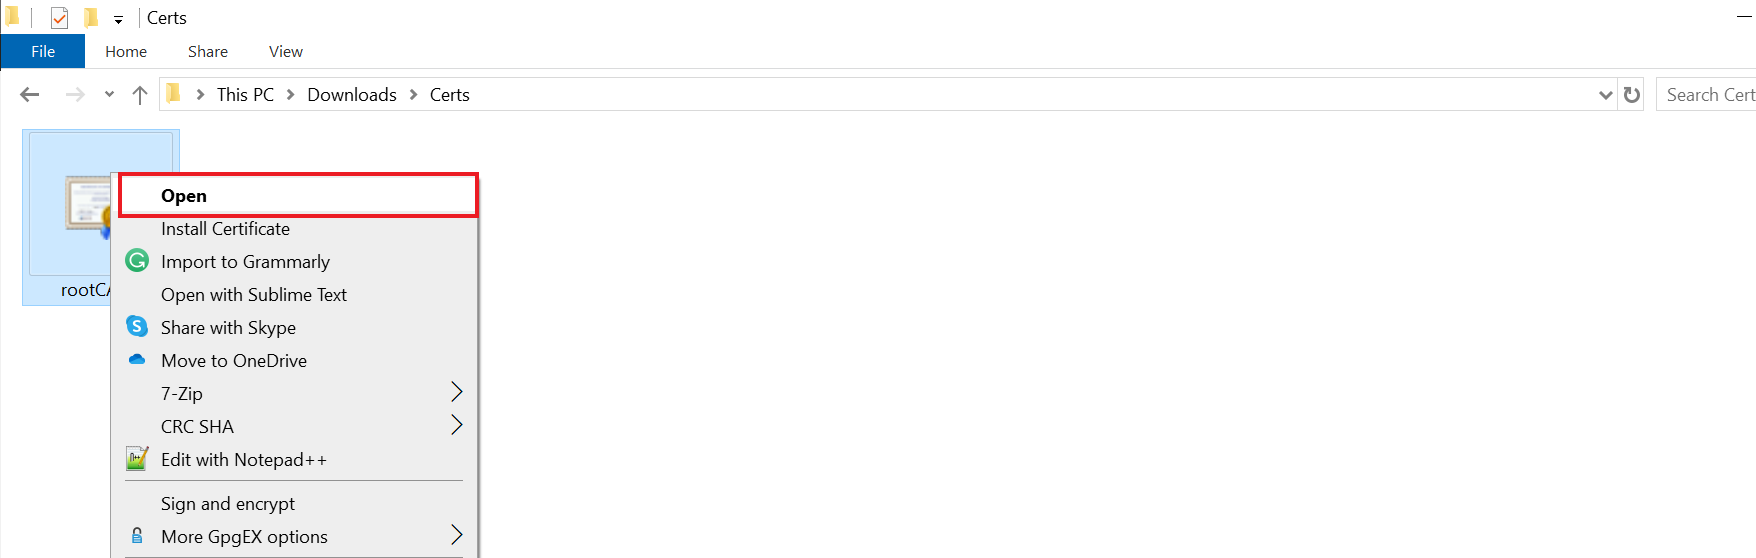
Download/Save the acquired certificate in the system you want to install the certificate. Navigate to the directory where the certificate is saved.
Right Click on the certificate and select Open
Step 02
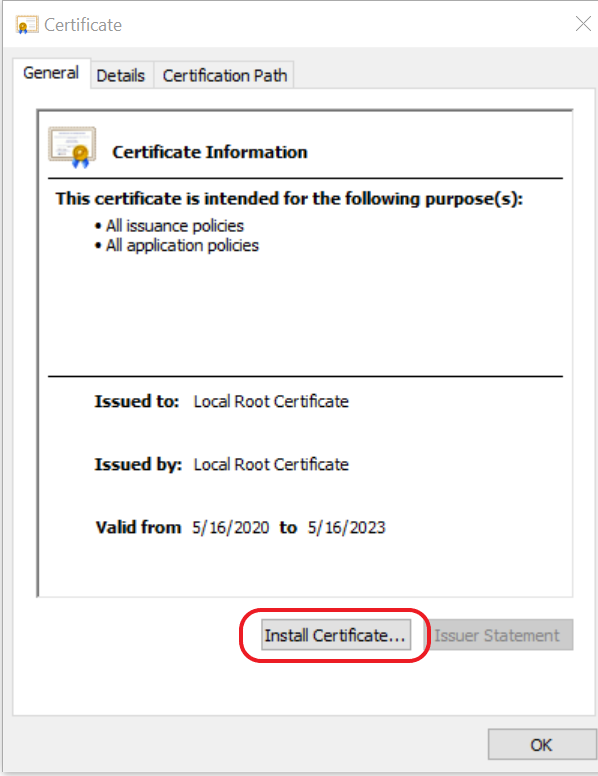
A detailed window about the certificate will be shown at this stage, select Install Certificate...
 Step 03
A certificate import wizard will open, at this point, there will be options available for installing for Current User or the Local Machine.
It’s suggested to select Current User to keep the system unaffected for other users.
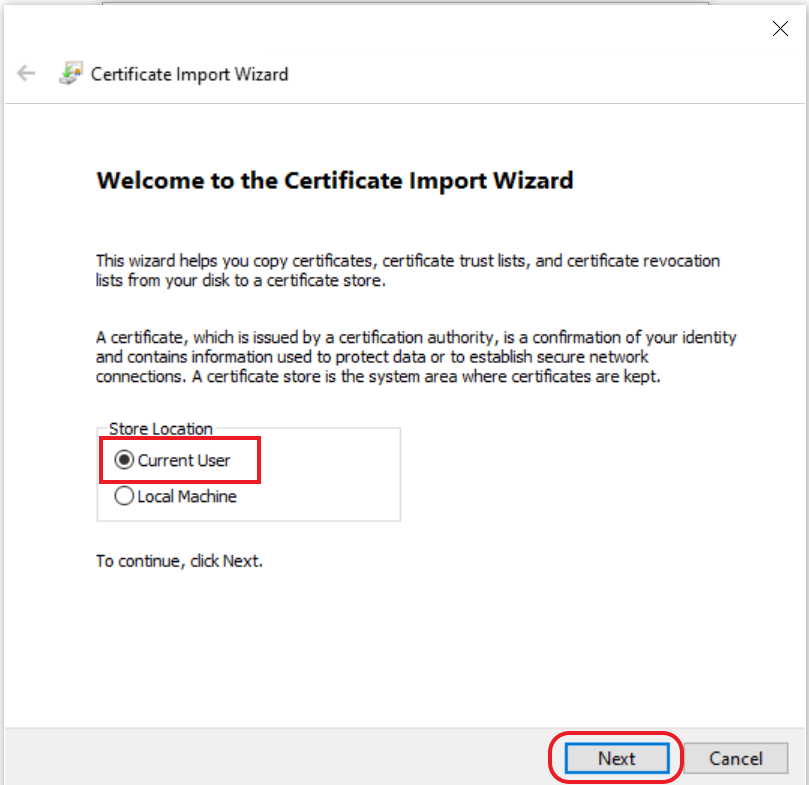
Once select the desired option, click Next
Step 04
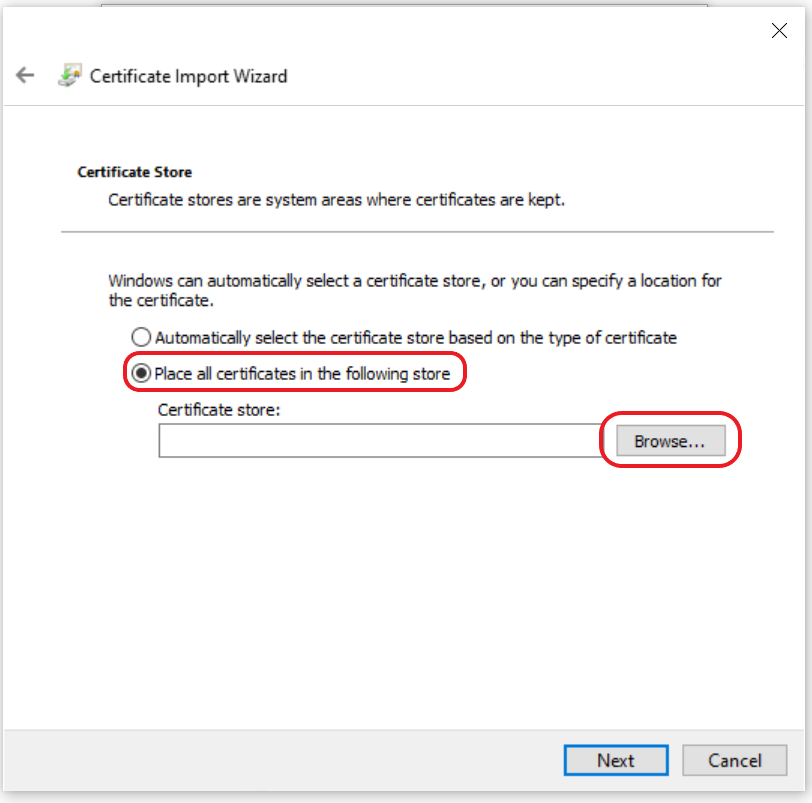
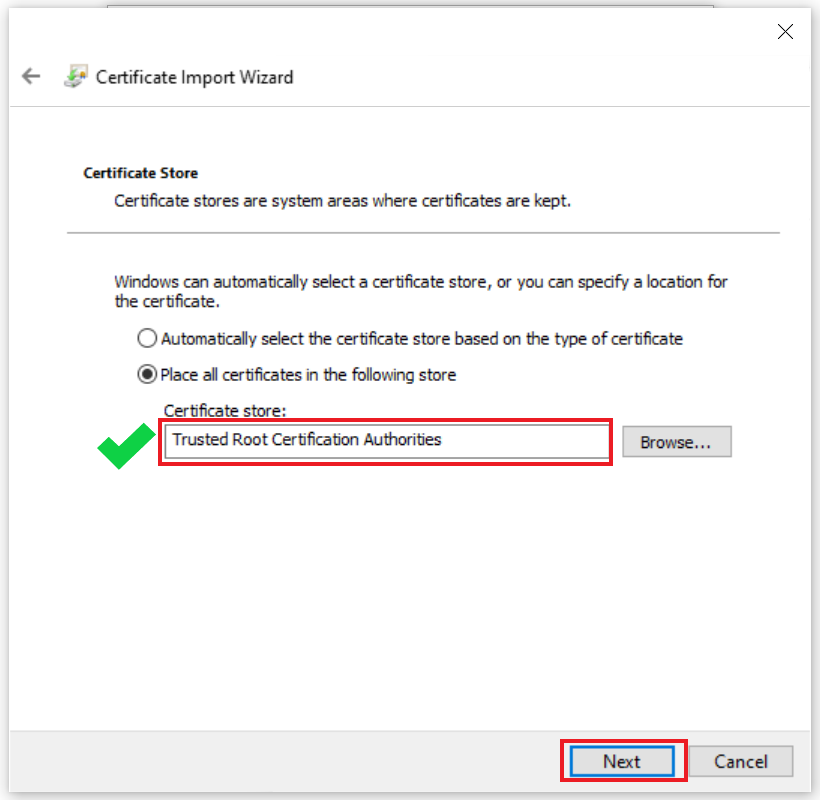
In the next screen, the certificate import wizard would want to know where to store the certificate.
Select the radio button, marked – Place all certificates in the following store
Then, click Browse
Once the browser window opens, Select Trusted Root Certification Authorities folder and click OK.
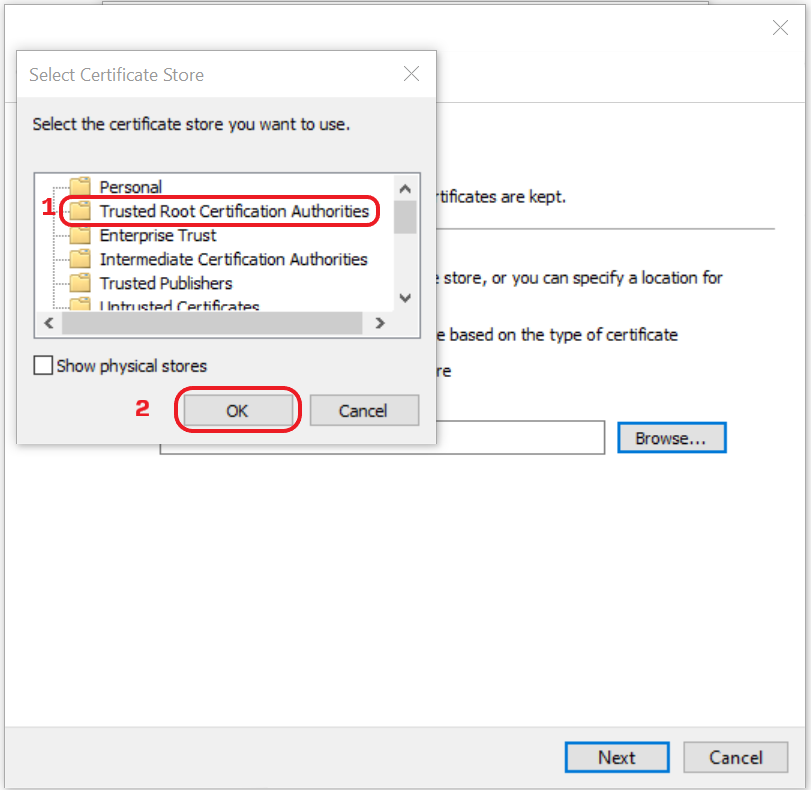
System will return back to the previous window with selected certificate store, click Next
Step 05
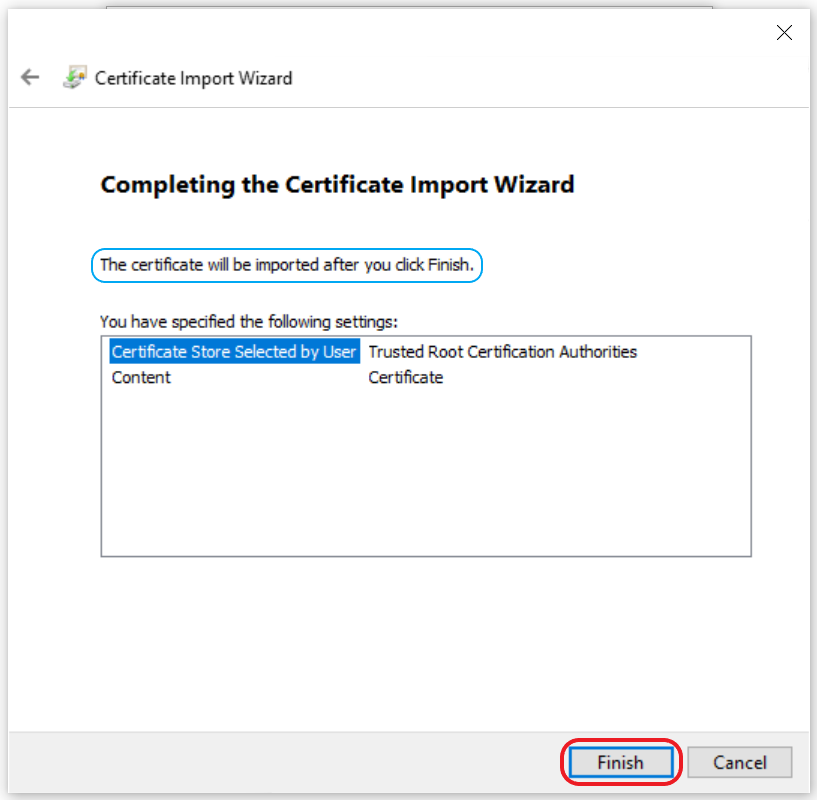
The certificate import wizard will show a completion message with the summary of the import stating that, after clicking Finish it will import the certificate.
Click Finish
At this point, you might see a security warning about windows not being able to validate the certificate.
NOTE
This happens mostly in the case of self-signed certificates, please do verify the Thumbprint before confirming.
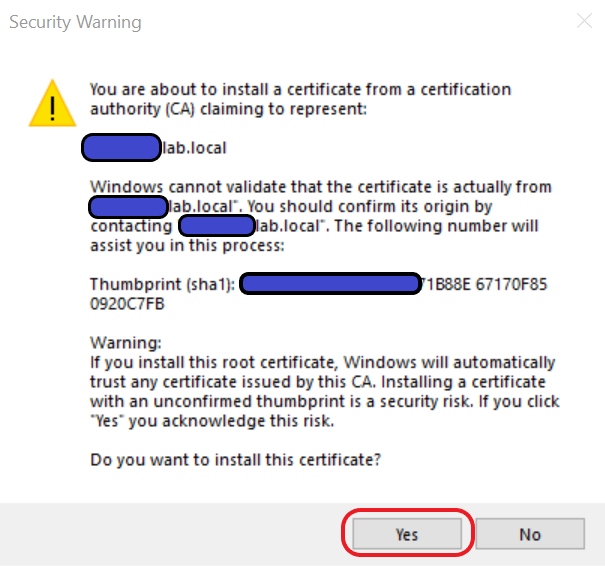
Select Yes
On the next screen, you should see the The import was successful. message.
Click OK
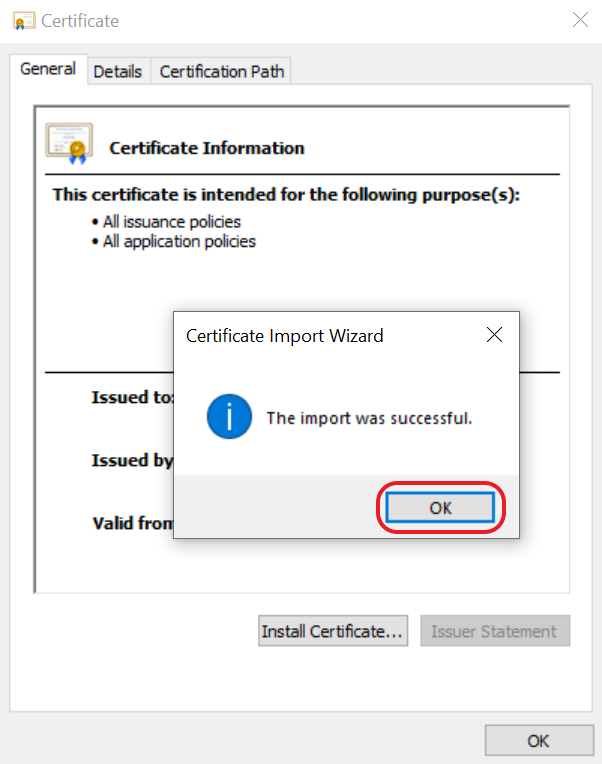
Now, exit out of the certificate import wizard.
Enjoy the https:// being green after a restart of the browser.
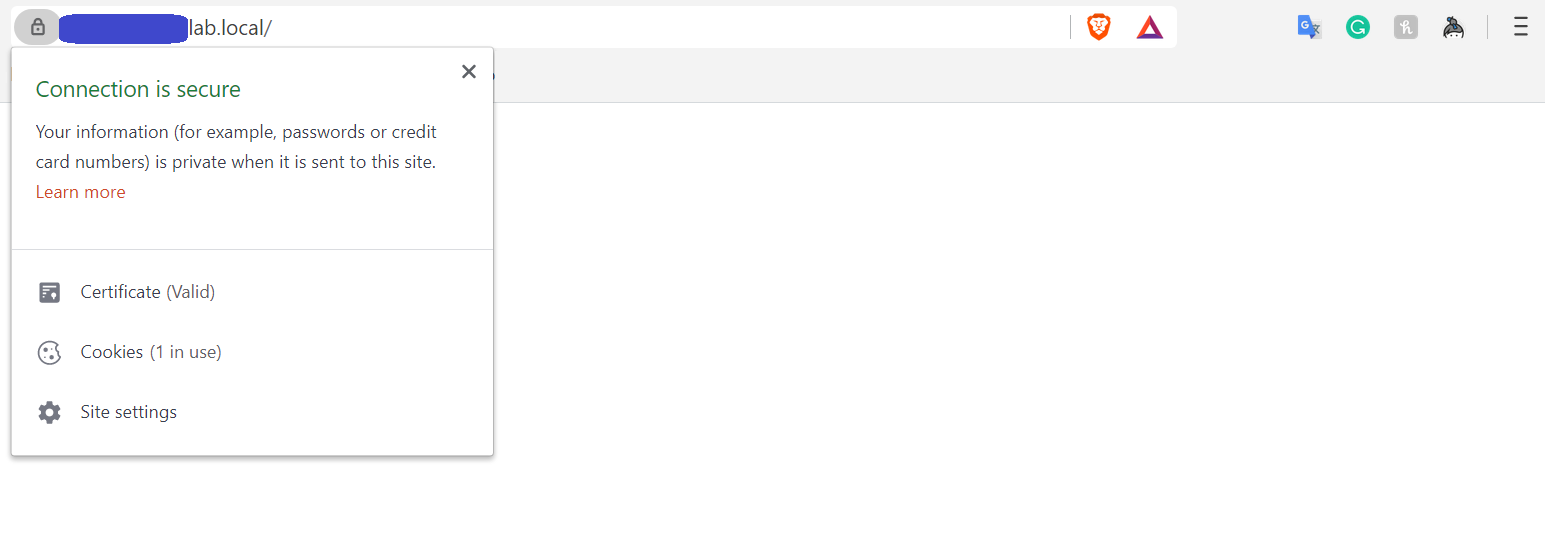
Enjoy!